Wednesday, December 31, 2008

Happy New Year


Hope everyone has a Happy and safe 2009. Did I mention how excited I am that Halloween is on a Saturday this year?

Monday, December 29, 2008

Wicked Witch of the West


Here's that picture I mentioned earlier... my memory card reader is back in action after a mysterious "vacation".

Friday, December 26, 2008

Got some cool stuff for Christmas


Of course my memory card reader on my computer decided to take a Christmas vacation, so I can't post any pictures just yet. I got an awesome Wicked Witch of the West painting, the Trick R' Treat book, and another book called "The Haunted House Halloween Handbook" that I had been wanting to check out. I got a lot of other cool non-Halloween stuff too. Hope all of you had a great Christmas, Hanukkah, Kwanzaa, or any other Holiday you may have celebrated.

Evil Santa Image Source

Wednesday, December 24, 2008

Merry Christmas

For all the people who like to ask if we go "all out" for Christmas too, well, not really. A few lights here and there, Frosty the Snowman, and some Charlie Brown characters are about it. All of you from up north, don't laugh at our "snow"... that's about as much as we get around here.

Merry Christmas from Jonathan, Andi, Joey, and Evan, and also from our two cats and the fish (if you are wondering what that thing is at the Bottom). Hope everyone has a Happy Holiday!

Thursday, December 18, 2008

Race Rock Lighthouse

It's funny how you see something one time and can't seem to get it out of your head. I saw this lighthouse on an episode of Ghost Hunters one time and think about it often, I don't know why. I think it would be really cool to go visit this sometime. I guess what strikes me most is that it is just so creepy looking and isolated. I can't really remember what happened on the show or if they even thought it was haunted or not, I just have the image of this thing in my head.


I wonder what it is about lighthouses that make them so haunted?

East End Lighthouses Website (and image source)

Wednesday, December 10, 2008

Funny Halloween Song

I downloaded this song a while back and thought it was kind of funny. Sorry, but this was the best video I could find.

"Halloween" by Stephen Lynch

YouTube Link

Sunday, December 7, 2008

Dead Spider's Web

I know this one has been posted a few times before, but I couldn't resist putting up a little something from AranaMuerta.com. I could not believe some of these props the first time I saw them, some truly amazing work. The creator of these works has a really cool Etsy shop as well. I have got to get some of those little bottles she has for sale.


I love the little details like this hair growing out of this wart.


Another addictive website and Etsy Shop for some of your Halloween "needs".
AranaMuerta.com
The Etsy Shop

Friday, December 5, 2008

Grimvisions: Dreams of the Dark

These are just a few of the awesome props made by Grim at Grimvisions.com. I cannot get over the detail of Mr. Lo Pan. That is one of, if not my favorite prop of all time. See the link below for the Grimvisions website, and a pretty cool Etsy shop too.


Grimvisions.com
Grimvisions Etsy Shop

Thursday, December 4, 2008

The Moon, Jupiter, and Venus all together

In case you missed it in the sky on December 1st, this is what the Moon, Venus, and Jupiter looked like all together. Pretty cool.


I don't know how often this happens, but I hope to see it again someday.

Image Source

Monday, December 1, 2008

Black, Orange, and Skulls

Other than Halloween, one of my favorite things to do is play drums. I have a pretty cool looking set now, but I found this one today and thought it would be very cool to own.

As an added bonus, it is made by my favorite drum company.

Drum Workshop Website

Also: Step outside tonight and take a look at the Moon, Venus and Jupiter. You can't miss them (unless it's cloudy where you live).

Friday, November 28, 2008

Black Friday


Black Friday kind of reminds me of how I went out shopping on Halloween morning for all the good sales on Halloween stuff, only I was the only person who was shopping that morning. It was very nice.

Sunday, November 23, 2008

Drop Gallow


Wanted to post some of the props from Drop Gallow's 2008 display. I had been looking forward to seeing these for some time, but was delayed from posting them (along with anything else) for the last couple of weeks. Some terrific and truly inspiring props can be found on the Drop Gallow Website.

Wednesday, November 19, 2008

Dave the Dead's Haunt

Johnny, over at Through the Patch posted some pics from "Dave the Dead" a while back and I couldn't resist re-posting this haunt. This is some excellent work and I would love to see more pictures of this very creepy looking display.


Check out more great pictures here.

Monday, November 17, 2008

New Pictures Added to Grim Hollow Website

Haven't posted much lately since I've been busy catching up on everything that was neglected before Halloween... fixing cars, doing homework, fixing little things around the house, cleaning, etc. Andi put 65 new photos on the Grim Hollow website so check them out and hopefully I'll find some cool stuff to post soon! (The green and blue lights in some of the pictures at the top were from where I was playing around with the color of the lights when I first set everything up. I finally settled on an amber color, and it wasn't as bright as it appears in the pictures.)

2008 Grim Hollow Pics

I hope to also have a short video made before too long.

Tuesday, November 11, 2008

Cloaked Ghost's Hand


I have gotten a few questions about the hands on my cloaked ghosts. Here is a picture of them close-up, with another use that I found for them while they were hanging out in the garage. Made an excellent MP3 player holder. This picture shows more detail of the hand and the look that the construction adhesive gives it. I probably could have made it look even better if I had taken my time, I kind of rushed these. I think this one was also painted with some flat tan spray paint.

Sunday, November 9, 2008

Cloaked Ghost Step By Step

When I first saw Pumpkinrot's Cloaked Ghost, I knew that I had to build one. Or two... or three. Since then, I have gotten a great response from the two I built and lots of questions about how I did it. So... here are a few pictures I took along the way, and a brief description of how I made them. I don't know how Rot made his, but I really owe him credit for the idea for this prop that I put my own spin on.


I started with a piece of 1 and 1/4" pvc pipe that was probably close to 5 feet long. The little device it is standing on is a thing I made to put my tombstones on while I was painting them, that I have found comes in handy for several other uses. I went ahead and painted this pole black since I didn't want it visible and I figured this would be the easiest time to paint it.


Next I made a piece for the shoulders out of a 1X2 and arms out of 1X2's as well. The one arm has a piece of pvc pipe for the forearm... I'm not sure why I did that. I might have run out of 1X2's. I also made a hood out of chicken wire and used a wire coat hanger along the front edge to give it more support. My plan was to use monster mud covered burlap over this so I needed all the support I could get, as that stuff can be rather heavy.


I made the hands out of two different sizes of glue sticks that were cut and glued back together. I could have done this a lot simpler, but I had just learned this method and wanted to try it out. These turned out to be really strong, especially after I covered them in construction adhesive and dipped them in liquid latex for extra support.


Here is what the ghost was looking like after the monster mud covered burlap was added to the hood. I had to use another piece of wood to hold up the front of the hood while this was drying, as it kept wanting to fall and droop down too much in the front. I ran the wire to power the lantern (that this ghost would later hold) up the main pole and down the raised arm. At this point I had also dyed some cheesecloth a tan color, and wrapped the main pole with it to make it less visible in the finished product.


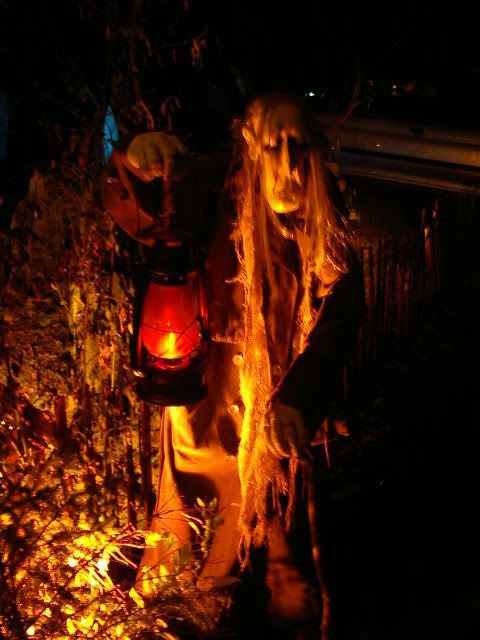
Here is the ghost, nearly completed with all the rest of the cheesecloth draped on it. I used some spray on glue as I layered the cheesecloth on to keep it from blowing away in the wind... this seemed to work really well. I shredded the ends of the cheesecloth and made some long stringy pieces to hang down and blow in the breeze. I tried to get rid of any "straight lines" such as the ends of the cloth or anywhere it may have folded over. I felt that any of these that were visible would take away from the creepiness factor. I painted everything inside the hood black at this point also, so that nothing would be visible inside the hood. This was what I liked most about this prop, the mystery of what was inside that darkened hood, which was nothing. I also added a Skull and Bone style flickering lantern to one hand.


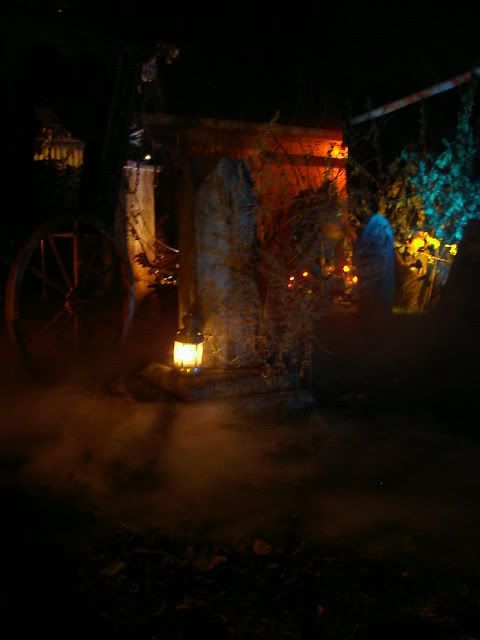
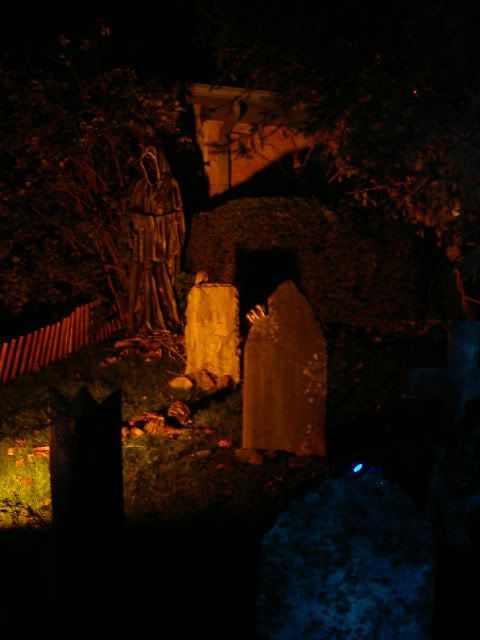
Here was the finished product. Even though this picture was photoshopped a tad, the center pole becomes pretty much invisible at night and blends in with the other pieces that hang down. I painted the bottom of this black, up about a foot or so and blended it back into the tan color, which makes it even less visible. This is what gives it that "hovering" look. To stand the ghost up, I drove a five foot piece of conduit into the ground about two feet, which left three feet out of the ground for all of you mathematicians, and then slid the whole assembly onto that.

Some things I might have done differently if I were to build these again.... I might have used a paper mache material for the hood instead of monster mud, as this would have been much lighter, although the monster mud will hold up better in all types of weather (such as rain). I probably would use the thicker walled (schedule 40 I think it is called) pvc pipe, which would be stronger than the thin walled stuff I used. I didn't have any problems with it, I just like to be on the safe side. I think that about covers it, but if I left anything out feel free to ask... I'm sure there was something.

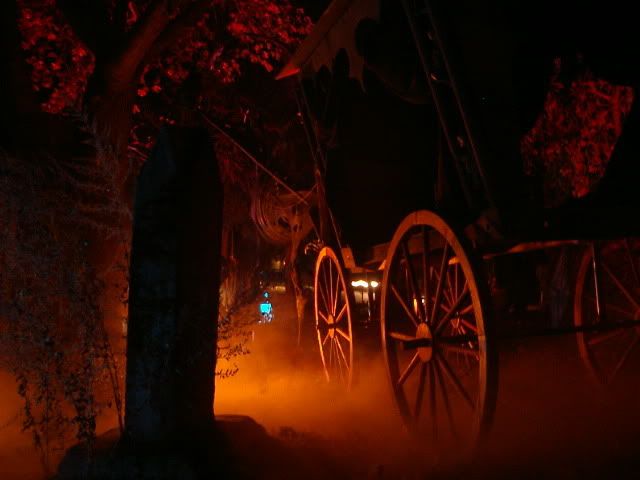
The Inspiration... Pumpkinrot's Cloaked Ghost


Photo From Pumpkinrot.com
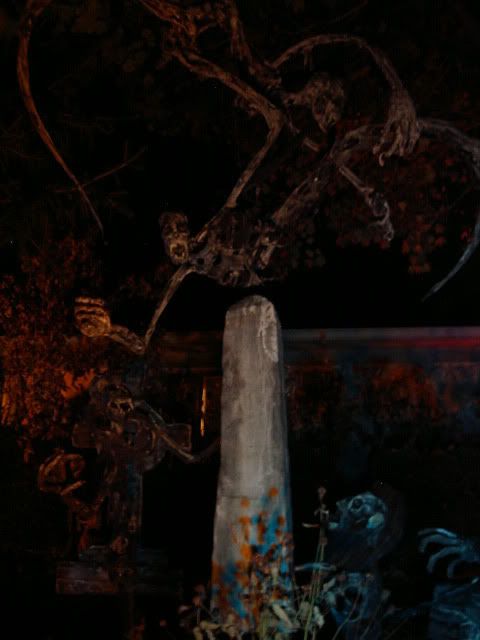
Skull and Bone


I am still shocked at the news that one of the haunts that influenced me the most in making my own haunt will not be doing another display. I received a lot of help from Rob, of Skull and Bone, on several different questions I had in the past. He was always more than willing to help, and was actually one of the first experiences I had in learning how willing fellow haunters can be to help those who are just starting out. If you are familiar with his haunt, you will see some similar things in my haunt that I borrowed (stole) from his haunt. I learned to make a Bucky corpse from the great tutorial on the Skull and Bone website, and learned to make my flickering lanterns with help from Rob. I will truly miss this great haunt, and can only hope that it will make a return someday.

SkullandBone.com

Saturday, November 8, 2008

Grim: Step by step


I have had a lot of questions about my "Grim" prop that I built for 2008. I plan to put a full blown tutorial on my website sometime, but for now here is a brief step-by-step tutorial with some never before seen pictures.


I stated with a basic wooden frame, made from 1X2's and 1X3's. I actually stood in the position I wanted "Grim" to be standing in so that I could get the angles of the arms and legs right. I wanted the legs and arms really long and the torso a little smaller.


I came up with this idea from seeing the three skulls on a rope decoration, and thought that Grim needed to be holding these as sort of his "captives". I wanted them to have rather happy faces, as they do not realize the terror they are about to experience. I lit these using three small candelabra sockets that I got from Lowe's, and 4 watt nightlight bulbs.


Next, I covered parts of the body in chicken wire to break up the blocky look, and made a few "thorn-like" projections. I made the hands and feet out of wire coat hangers, paper towels and duct tape. I also ran the wire at this point for the light that would be in the head, and the string of pumpkins that he would be holding.


I used paper mache for the skin, (paper towels, and an Elmer's glue and water mixture: mixed to about a 50/50 ratio). I used both brown and white paper towels... no particular reason, I just had both and was experimenting. The brown paper towels were probably stronger, but wouldn't stick as good as the white paper towels. I used about three layers of these all over the body. While it was still drying I dipped sections of different kinds of rope and cord in the Elmer's glue and water mixture, and wrapped them around the legs, body and arms randomly. I wanted these to have a vine-like appearance, and look kind of like they were just growing wildly. I also tore paper towels into long stringy looking pieces and randomly placed these around in different places.


Last, I painted him flat black as a base coat, then went back over that with a couple of shades of brown. I also added some cheesecloth that was dyed brown and shredded up. I put this around the torso area. The head was a foam "Funkin" that I carved and airbrushed. I lit it the same way that I lit the smaller pumpkins, with a candelabra socket and 4 watt bulb.

That's pretty much it, the total cost to build this was probably about $40.00, with the head being about half of that cost. (I had a lot of the materials on-hand though, if I had to buy everything to make just this prop, it might have been about $60.00.)